


Table of Contents
A tired bathroom floor makes the whole room feel dated, even when the fixtures are fine. Choosing new bathroom floor tile is one of the fastest ways to reset the look without gutting the space.
Porcelain and ceramic options now mimic wood, stone, and handmade zellige at prices most budgets can handle. This list of 22 ideas covers layouts, patterns, and finishes that suit a single weekend project.
Pick the one that fits your room, then plan your grout color before you shop.
1. Large-Format Wood-Look Porcelain Planks
Cold ceramic under bare feet on a winter morning is the fastest way to hate a bathroom floor.
Large-format wood-look porcelain planks fix that feeling without real wood in a wet room. The long planks stretch a small bath and cut the number of grout lines. You get warm oak or walnut tones that read like real timber.
Grout still catches dirt in the seams, so pick a tone close to the plank color. Stagger the joints like real wood flooring for the most believable look.

PLANK SIZE
Six by 36 inches stretches small baths.
TONE
Warm oak or walnut reads like timber.
GROUT
Match plank color to hide seams.
LAYOUT
Stagger joints like real wood floors.
2. Marble-Look Porcelain With Soft Veining
Marble-look porcelain gives a bath timeless luxury without the upkeep of real stone.
Real marble stains from hard water and costs real money to seal. Porcelain copies the veining with a glaze that shrugs off toothpaste and hairspray. The polished finish bounces light around small rooms.
Pick slabs with soft, cloudy veining rather than harsh black lines. Loud veins can date a bath fast. Warm gray veins feel classic for years.

Weekend tip
View veining samples in daylight. Soft gray veins stay classic longer than bold black ones.
3. Small Hexagon Mosaic Sheets
Lay small hexagons in sheets, then adjust single tiles while the mortar is wet.
Hexagon sheets speed the work because each sheet holds dozens of tiles at once. The honeycomb pattern suits vintage and modern baths alike. White hex with gray grout is the classic combo.
Grout lines multiply with small mosaics, so expect more cleaning. Use a pre-mixed grout for a simpler install. Keep spare tiles from the same dye lot for future repairs.

Before
Bare concrete subfloor that feels cold and unfinished.
After
Honeycomb hex sheets. The floor feels detailed and bright.
4. Floor Tile Carried Up the Vanity Wall
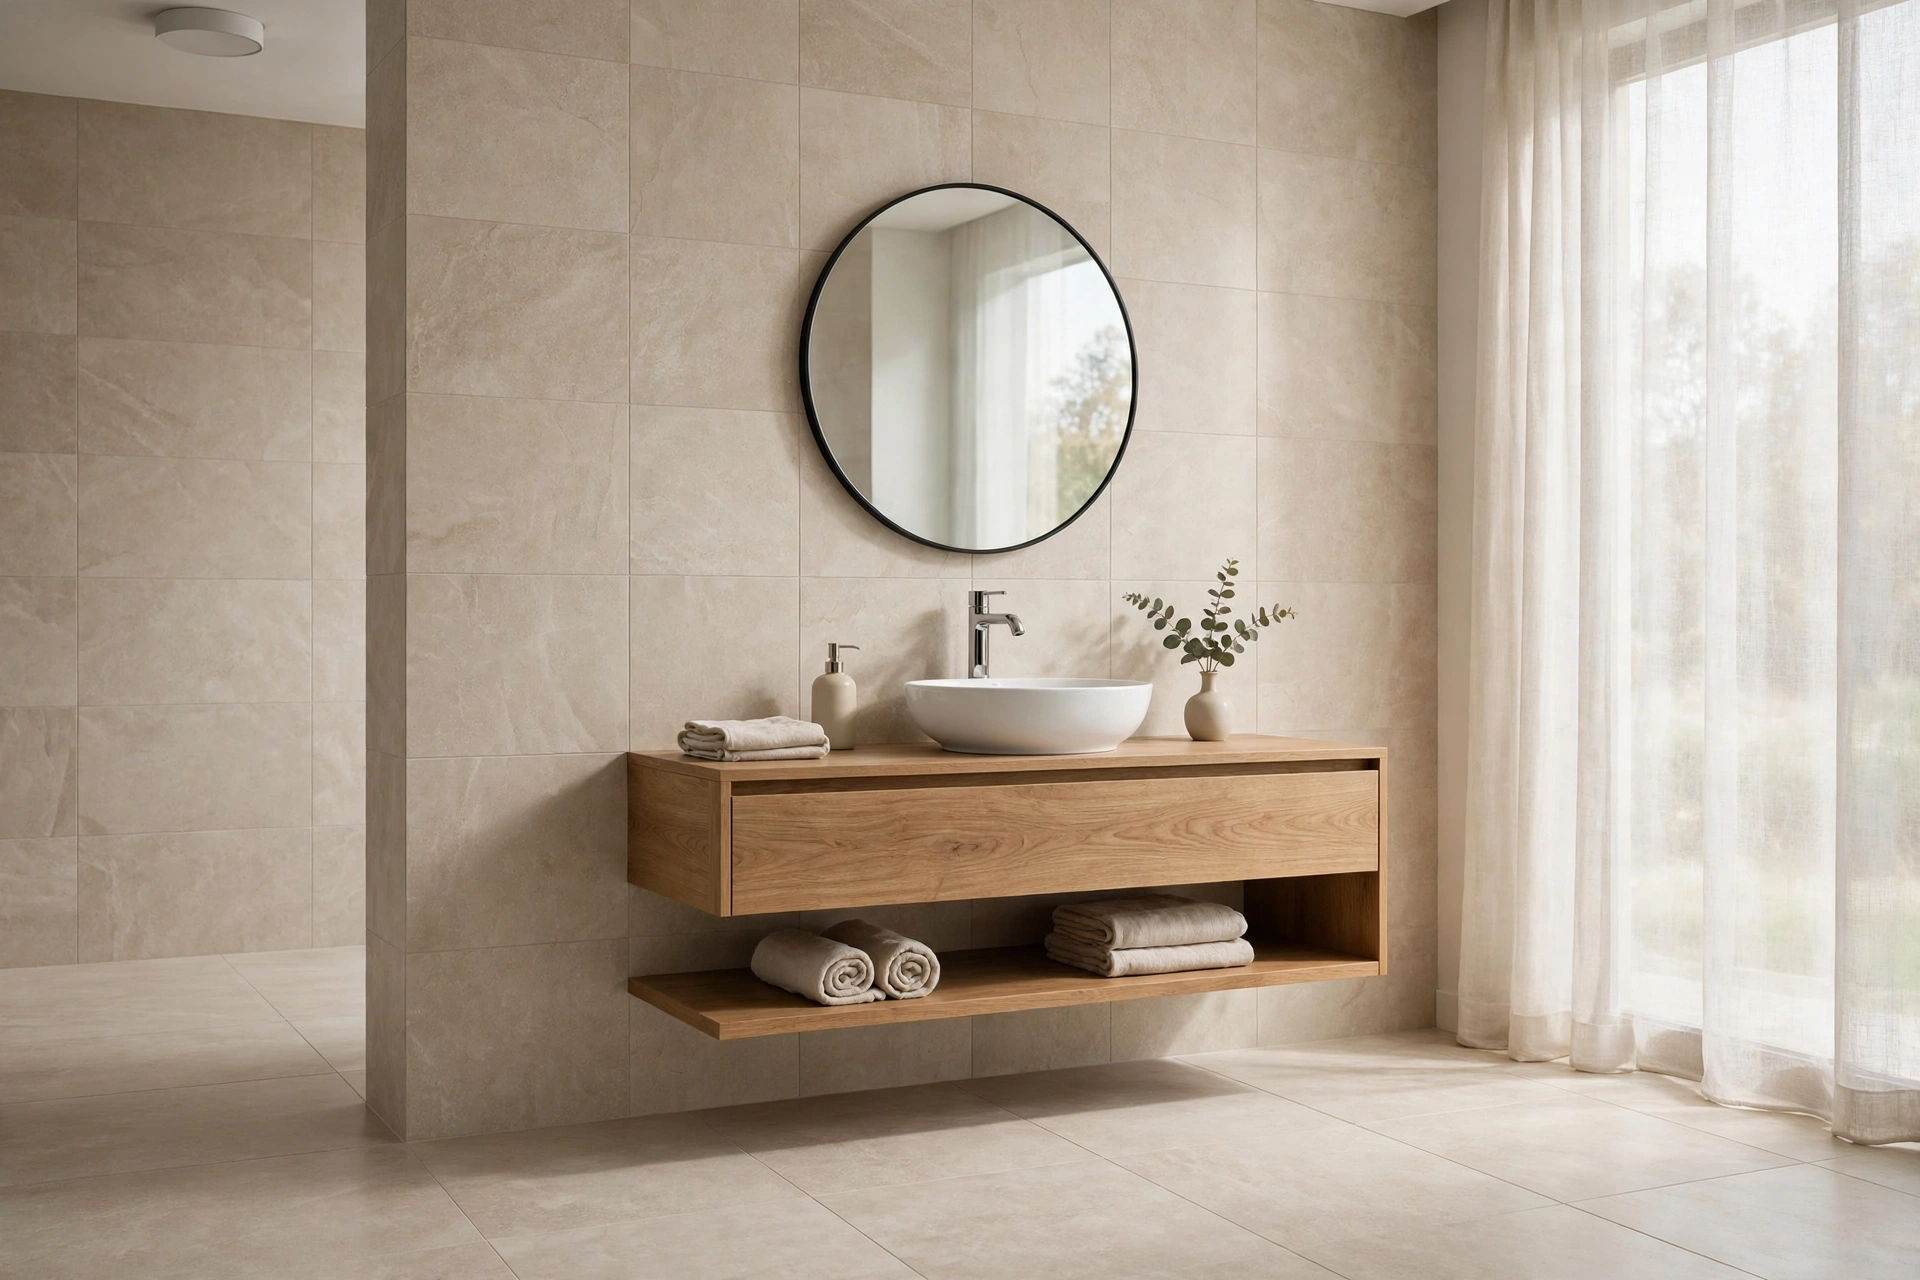
A vanity wall clad in the same tile as the floor makes the room read taller and more planned.
Running floor tile up the vanity wall links the surfaces into one calm field. The trick suits bold patterns best. A small dose of a loud tile feels safer than a full floor of it. Keep the rest of the walls quiet so the vanity wall stays the star.
Seal the joint where the wall meets the floor with flexible caulk, not hard grout. Houses shift, and rigid grout cracks there first. Check that your tile is rated for both floor and wall use.
Vanity wall checklist
- ✓ Check the tile is rated for walls
- ✓ Keep the other walls quiet
- ✓ Use flexible caulk at the base
- ✓ Plan the layout around the mirror
Carry the pattern higher and let one bold wall take the spotlight with this focal wall tile inspiration.
5. Zellige-Look Squares With Wavy Glaze
Edges catch the light differently on every tile, and the floor shimmers as you cross the room.
Zellige-look squares copy the wavy glaze of handmade Moroccan tile. The slight color shifts keep the floor from looking flat or printed. They work in baths that want character without a busy pattern.
The glaze can feel bumpy underfoot, so test a sample barefoot first. Order all boxes from one batch to keep the color range tight. Plan grout joints by hand, since the tile edges vary slightly.

TIME
One weekend
SKILL
Beginner
COST
Low-moderate
6. Terrazzo-Look Speckled Tiles
Terrazzo looks fussy and fragile, yet the porcelain version handles daily life with ease.
Terrazzo-look speckled tiles hide dust and stray hair between cleanings. The chip pattern breaks up the floor so spots and splashes blend in. It suits busy family baths that never stay showroom tidy.
Keep the chip scale in mind for small rooms. Large chips can overwhelm a tiny bath. Small, dense speckles read calmer and wear longer visually.

Terrazzo install in 5 steps
- Buy from one batch number
- Dry-lay the chip pattern first
- Spread mortar in small zones
- Level each tile as you go
- Grout after the mortar cures
7. Black-and-White Checkerboard Squares
A checkerboard floor reads classic where a solid black floor reads moody and heavy.
Black-and-white checkerboard brings graphic punch to a small bath. Large squares suit the look best, since tiny checks can feel dizzy. White grout keeps the white squares bright, while gray grout softens the contrast.
Three quick rules:
– Large squares suit the look best
– Compare whites in daylight first
– Keep walls plain and simple
Black shoes scuff black squares less than you would expect.

Do
Use large squares. Compare whites in daylight first.
Skip
Tiny checks that feel dizzy. Patterned walls nearby.
8. Herringbone-Laid Porcelain Planks
Keep every herringbone cut at the same angle, and the pattern stays crisp wall to wall.
Herringbone-laid planks give plain rectangles a custom feel. The zigzag pulls the eye along the longest wall. It works in both narrow powder rooms and wide main baths.
Plan extra cuts, since angled ends waste more tile than straight runs. Dry-lay one row before mixing mortar. Number the cut pieces so each slot fills fast.

| Herringbone planks | Straight planks |
|---|---|
| Custom zigzag look | Simple, faster install |
| More angled cuts | Less tile waste |
| Best in narrow rooms | Suits any room size |
9. Basketweave Mosaic With Dark Dots
The classic mistake is lining up basketweave with the walls. The weave wants a slight angle.
Basketweave mosaic mixes light rectangles with dark dots for a tailored look. The pattern reads formal, so it flatters baths with wainscoting or brass fixtures. It hides small install flaws well.
Order extra dots, since the small inserts chip most in shipping. Keep the pattern centered on the doorway for a balanced first view. Seal the dots separately if they are natural stone.

Takeaway
A slight angle beats forced straight lines. Let the weave sit naturally.
10. Penny-Round Mosaic for Retro Grip
Small kids love tracing penny rounds with their toes. Adults love how they grip wet feet.
Penny-round mosaic gives a bath a playful retro feel. The tiny circles come on sheets, so install moves fast. Grout takes up more of the surface, which adds grip in the shower zone.
Dark grout shows less dirt but can swallow the penny pattern. Test a small board with your grout choice first. Rinse the sheets well so paper backing never sticks in the mortar.

Penny-round notes
- Buy sheets from one dye lot
- Test grout color on a sample
- Rinse paper backing off fully
- Keep spare sheets for repairs
11. Slate-Look Textured Stone
Texture underfoot is the quiet luxury of slate-look tile. Your feet notice before your eyes do.
Slate-look textured stone brings rough, natural character to a bath. The varied surface hides water spots and wears gracefully. Earth tones pair well with wood vanities and bronze taps.
Rough texture traps soap film, so scrub the floor monthly with a stiff brush. Seal slate-look porcelain if the maker recommends it. Keep spare tiles for the shower entry, where wear hits hardest.

FEEL
Rough texture that grips wet feet.
COLOR
Earth tones with natural variation.
CARE
Monthly scrub with a stiff brush.
PAIRING
Wood vanities and bronze taps.
12. Large Concrete-Look Matte Squares
Choose one grout color, one tile size, and let the floor go quiet.
Large concrete-look matte squares give a bath a calm industrial edge. The big format means fewer grout lines to clean. Matte glaze hides fingerprints and water spots.
Keep the shade light in small baths, since dark concrete can close the room in. Add texture through towels and wood so the floor never feels cold. Check slip ratings before buying for a wet bath.

Good to know
Check the slip rating on the box before buying. Matte does not always mean grippy.
13. Encaustic-Look Patterned Tiles
Bold flowers and stars bloom across the floor, and every grout line frames the pattern.
Encaustic-look patterned tiles turn a plain bath into a statement. The print sits in the glaze, so it never wears off like a surface decal. Use them in small baths where the full pattern stays visible.
Too much pattern fights busy walls, so keep the rest of the room simple. Lay the tiles from the room center outward for a balanced layout. Seal matte prints to make cleaning easier.

Before
Plain white floor with no personality.
After
Bold printed pattern. The bath feels styled.
14. Subway Tiles in Brick Lay Underfoot
Subway tile belongs on walls only. That rule ends today.
Subway tiles in brick lay on the floor make a small bath feel orderly and bright. The offset joints lead the eye forward, which stretches the room. White subway with dark grout is the bold version.
Thin rectangles chip at the edges, so handle boxes with care. Use a floor-rated subway tile, not wall-only stock. Keep a few spares from the same lot for later fixes.

Subway floor checklist
- ✓ Buy floor-rated tile, not wall-only
- ✓ Handle thin edges with care
- ✓ Keep spares from the same lot
- ✓ Seal the grout after curing
15. Chevron-Laid Planks Pointing to the Door
Point every chevron toward the door, and guests notice the pattern on the way in.
Chevron-laid planks create crisp V shapes that feel custom. The angled cuts take more time than straight planks. The payoff is a floor that reads designed, not default. Keep the Vs pointing one direction for a calm, even rhythm.
Order extra boxes for the angled waste. Cut with a wet saw for clean points. Dry-lay the first V before spreading mortar.

TIME
One weekend
SKILL
Intermediate
WASTE
Extra boxes needed
16. Travertine-Look Warm Stone
Morning sun hits the warm stone and the whole bath glows before the coffee brews.
Travertine-look warm stone brings soft beige tones and gentle pitting. The look is classic without feeling cold. It pairs well with cream walls and brushed brass.
Real travertine needs sealing and pitting fills, so porcelain is the easier path. Fill any deep pits with grout during install. Choose honed over polished for fewer visible smudges.

Travertine look in 5 steps
- Pick honed porcelain, not real stone
- View samples in morning light
- Fill deep pits with grout
- Pair with cream walls
- Add brushed brass fixtures
17. Charcoal Matte Tiles for Quiet Depth
Charcoal reads softer than black and bolder than gray. It lands right in the middle.
Charcoal matte tiles ground a bright bath with quiet depth. The dark tone hides dirt and water spots well. White fixtures pop against the dark floor.
Matte dark floors show dust and light lint, so a quick sweep keeps them sharp. Keep walls light so the room never feels like a cave. Warm the look with wood tones nearby.

Do
Keep walls light. Warm the look with wood tones.
Skip
Dark walls with dark floors. Skipping the daily sweep.
18. White Tile With Dark Grout Lines
White grout in a bath turns gray within months. Dark grout never shows its age.
White tile with dark grout contrast makes the tile grid pop. The pattern reads graphic and modern. Charcoal or black grout suits square or subway tiles best.
Test the grout color on one tile first, since wet grout dries lighter. Seal the grout lines to keep them even. Keep towels light so the contrast stays the star.

| Dark grout | Light grout |
|---|---|
| Hides dirt and stains | Shows dirt fast |
| Makes the grid pop | Blends into white tile |
| Graphic modern feel | Softer classic feel |
19. Mosaic Border Inlay Around the Floor
Frame the floor like a rug by setting a mosaic border two feet in from the walls.
A mosaic border inlay frame gives a plain tile field a custom edge. Greek key, rope, and dot patterns all work. The border pulls the eye to the room center.
Fit it in:
– Plan the border before field tile
– Keep width even on four sides
– Center on the main entry
Dry-lay the full border first, then cut the field tile to meet it.

Takeaway
Plan the border before buying field tile. It changes the whole layout.
20. One Tile Flowing Into a Curbless Shower
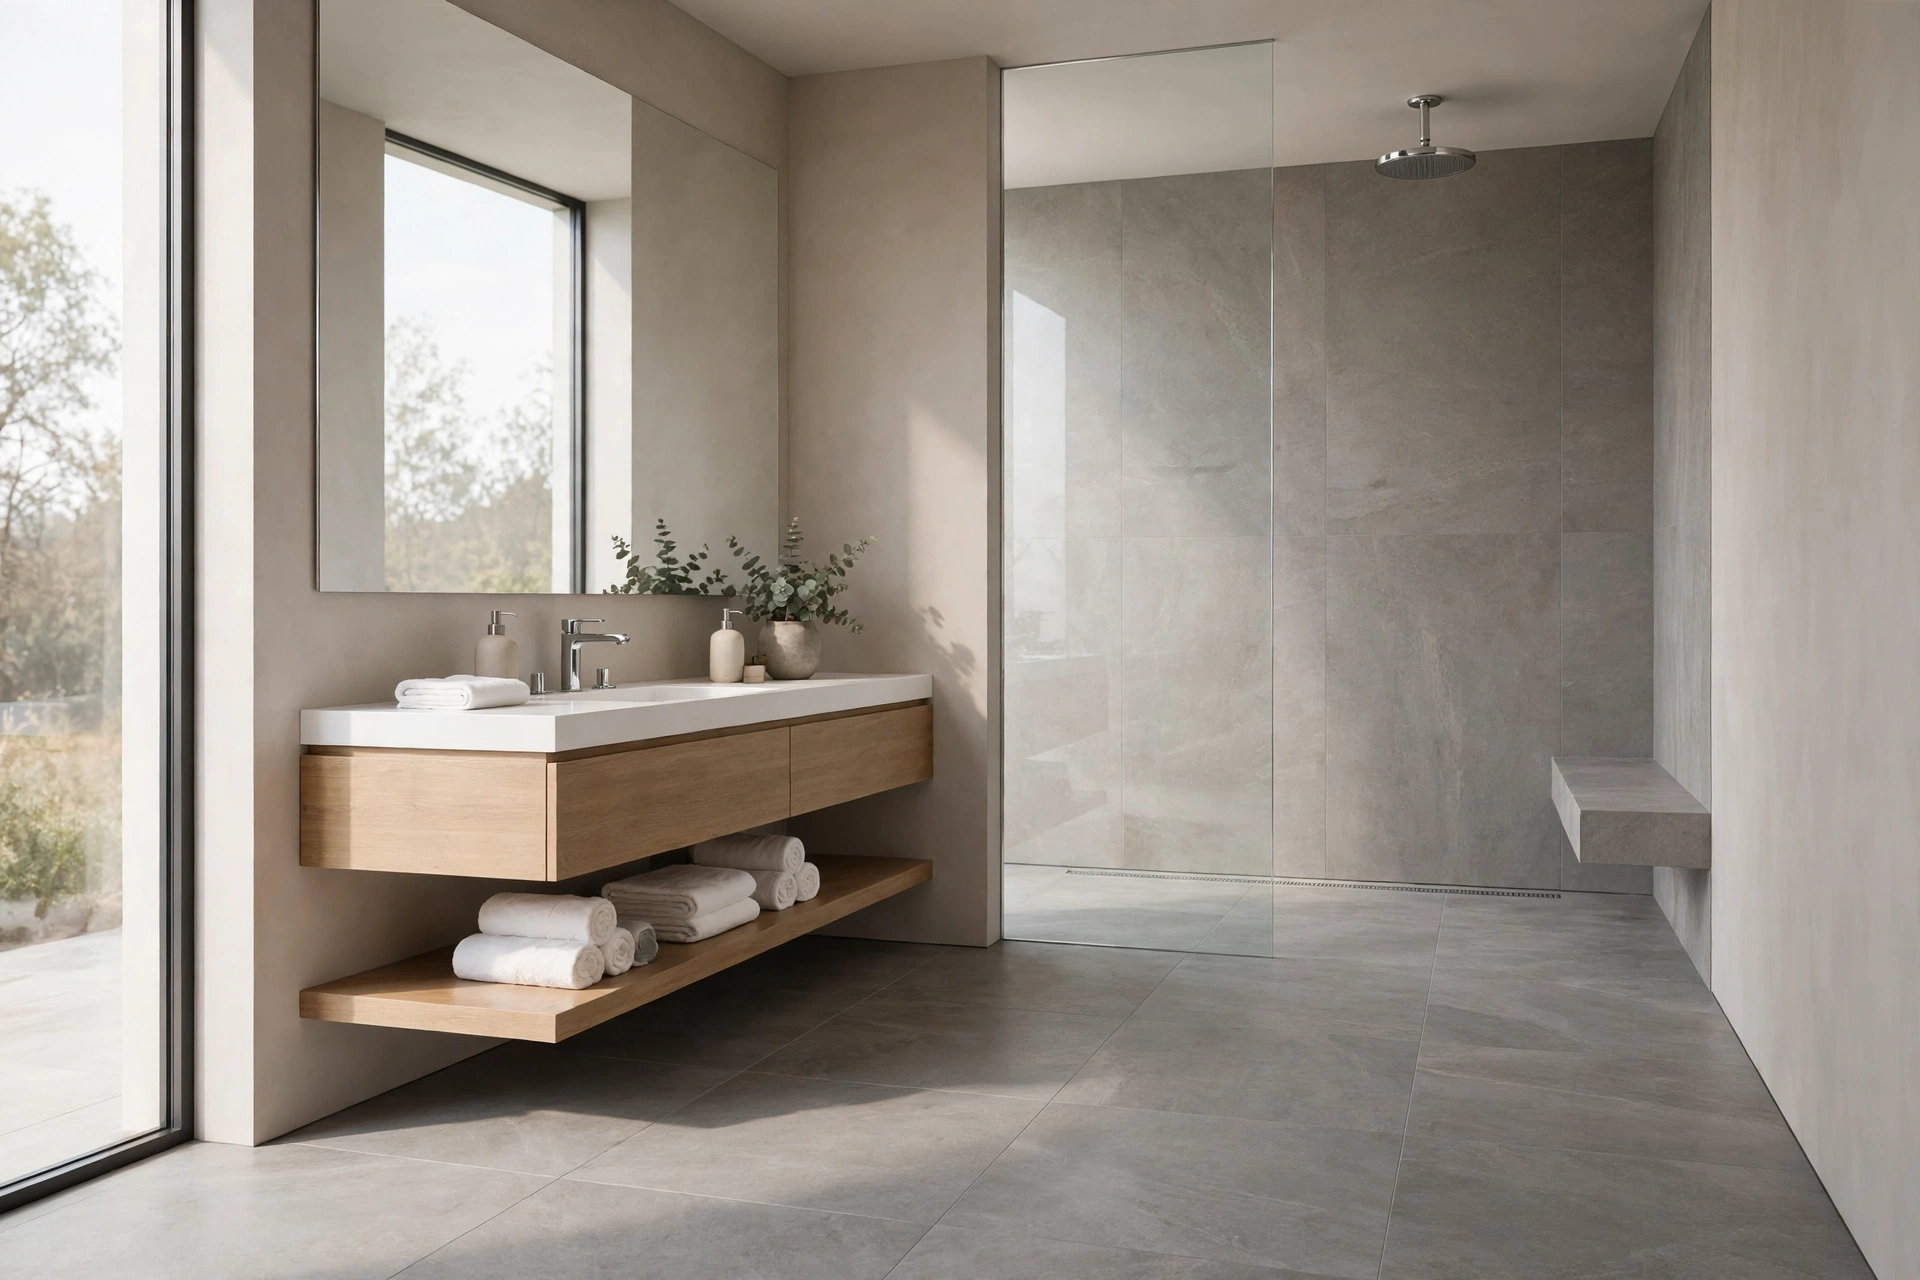
The shower floor flows into the bath floor with no lip, and the room feels twice as big.
Continuous tile into a curbless shower removes the visual break at the shower edge. One tile running everywhere makes small baths feel larger. The flush entry also suits aging in place.
Slope the shower floor toward the drain before tiling. Use a linear drain for the cleanest look with large tiles. Test the slope with water before grouting.
Curbless shower notes
- Slope the floor to the drain
- Use a linear drain for large tiles
- Test the slope before grouting
- Keep one tile style throughout
21. Slip-Resistant Texture for Wet Zones
The mistake is choosing the prettiest tile first and checking the slip rating last. Safety should lead.
Slip-resistant textured tile keeps wet zones safer underfoot. The rough surface grips even with soapy water. It suits showers, entries, and baths used by older family members.
Check the rating on the box before you buy. Test samples with wet feet at the store. Keep the texture outside the vanity zone if you prefer smooth floors there.

CHECK
Read the slip rating on the box.
TEST
Try samples with wet feet.
ZONES
Showers, entries, and bath floors.
BALANCE
Smooth tile can stay near the vanity.
22. Mixed Matte and Polished Finishes
Run one hand over matte tile and the other over polished. The mix adds depth.
Mixed matte and polished finishes keep a plain tile interesting. Use polished tile as an accent band or shower niche back. The contrast catches light without extra color.
Keep polished tile off wet floors, since it turns slick. Use the matte tile for the main field. Balance the two so neither finish fights for attention.

Finish mix checklist
- ✓ Matte tile for the main field
- ✓ Polished tile for small accents
- ✓ No polished tile on wet floors
- ✓ Balance the two finishes evenly
Twenty two ideas, one weekend, and a bath that finally feels finished. The right bathroom floor tile does more than cover a subfloor. It sets the tone for every fixture, color, and finish around it. Start with the samples that catch your eye, then test them in your own light before you buy.
Small choices like grout color and layout pattern make a big difference. Pin your favorite ideas to Pinterest so they are waiting when the project starts. Your new floor will thank you every morning.